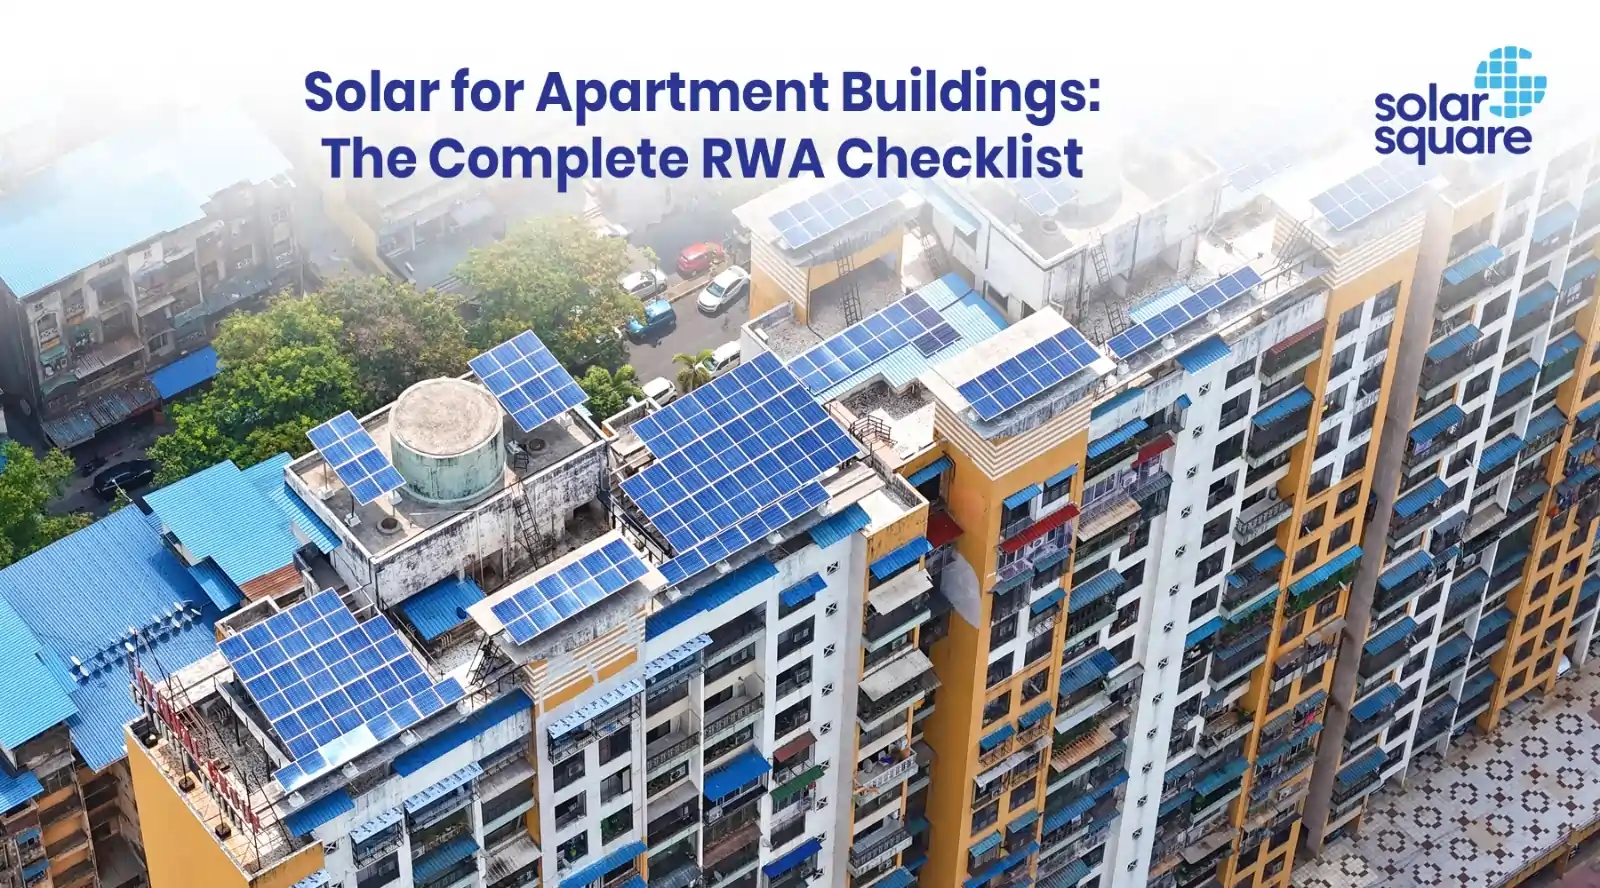

Most flat owners in India yearn for lower electricity bills and want to adopt solar. However, the terrace does not belong to them. It belongs collectively to the entire society. That’s why installing solar for apartment buildings is so different from solar for an independent home.
Although rooftop solar for apartment buildings can be installed, an individual flat owner cannot install rooftop solar for personal use unless every flat owner and society collectively allow it. Still, hundreds of societies across Mumbai, Pune, Bengaluru, Delhi and many other cities have gone solar and cut their common-area bills by more than 50-60%.
Whether or not you can get the best solar panels for apartments in your society depends on various factors, such as roof rights, RWA approval, DISCOM clearance, the right apartment solar system and metering model, a shadow-free roof area, and a cost-sharing plan.
This guide takes you through all the technical and legal checks that every RWA must know to secure permission to install solar panels for apartments.
Can Apartments Install Rooftop Solar in India?
Yes, apartments can install rooftop solar in India, and a growing number of housing societies are doing it every month.
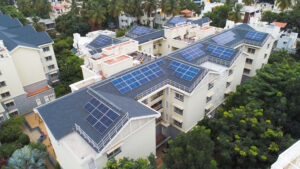
The most common way to have solar power for apartments is to install a single shared rooftop plant that powers common-area loads such as lifts, water pumps, basement ventilation, corridor lighting, and clubhouse equipment.
Individual flats can also receive credits through virtual net metering (VNM), in which a single shared community solar plant feeds multiple meters in a pre-agreed ratio.
The only thing that is not legally feasible is a single resident installing a private system on the shared terrace without the society’s consent. The terrace is common property, and any rooftop project requires formal approval from every flat owner in the society before the DISCOM application can proceed.
Why Is Solar Adoption in Apartment Buildings More Complex Than in Independent Homes?
Independent homeowners decide whether to go solar on their own. On the contrary, an apartment society must align multiple parties before a shared solar system can be installed.
These are the biggest reasons why it’s so complex to get permission to install apartment rooftop solar in a housing society:
- Shared rooftop ownership: The terrace is a common area held for all flat owners, not the private property of the top-floor flat. No single flat owner can lawfully install an apartment solar system on the common terrace for their own use unless every other flat owner in the society permits it.
- Multiple electricity meters: A society has a common-area meter for lifts, pumps, and lighting, as well as a separate meter for every flat. The metering model chosen at the start of the project determines how generated solar power is allocated and who saves (and how much) on their bill.
- Collective decision-making: A society needs an AGM approval for the scope, budget, financing model, and vendor selection criteria to go solar. In a newly handed-over building where the society has not yet been formed, authority usually lies with the builder. In such cases, a written NOC from the builder is required.
- DISCOM and state policy differences: Net metering, group net metering, and virtual net metering rules for housing societies vary by state and have been changing through 2025 and 2026. Maharashtra, for instance, now formally permits virtual net metering for multi-storied buildings within the same DISCOM area under the MERC 2024 amendment. Karnataka has issued a KERC order allowing apartment associations to use rooftop and elevated structures to install solar. Simply put, the state rule decides what is possible before any technical work begins.
What Must Be Checked for Technical Feasibility Before Installing Solar Panels for Apartments?
The purpose of a technical feasibility check is to confirm whether your building can safely install the solar system your society has in mind and to identify any constraints that could reshape the design before money is committed. Skipping it tends to surface as a problem later, either during installation or after commissioning.
The technical feasibility check falls within the scope of the EPC vendor/installation company your society shortlists, and a good vendor will share the findings transparently with the managing committee before preparing a final quotation.
Here are the different technical feasibility checks your society should expect.
#1. Shadow-free Rooftop Area Analysis
The engineering and design team of the vendor handles the rooftop inspection. This step identifies the actual usable shadow-free area on the roof. Societies with ample shadow-free space can opt for cheaper Mono-PERC bifacial panels, while societies with limited space benefit more from higher-efficiency TOPCon panels.
Here is how the shadow analysis is carried out:
- A 3D model of the terrace and surroundings is prepared, including adjacent towers, trees, and taller structures.
- A sun path simulation is performed across all seasons to identify zones that remain shadow-free.
- On-roof shadow sources are considered, including water tanks, lift machine rooms, stair-heads, parapets, and antennas.
- Adjacent buildings and tall trees are mapped for shifting shadow patterns.
- A map of usable, shadow-free zones is created rather than the total roof area.
#2. Roof Strength and Structural Safety Analysis
This technical feasibility step determines whether the system your society has in mind can actually be installed on the terrace, or whether the size must be reduced to a load the slab can safely carry for the next 25 years.
Here is how the structural assessment is carried out:
- The building architecture review is done, including slab type, structural layout, and existing load paths.
- Building age and slab condition are considered, with a full audit for very old buildings.
- Existing loads on the terrace are considered, including water tanks, antennas, and any prior installations.
- System weight is distributed across the slab to avoid unsafe load concentration at a single spot.
- Wind load assessment is done based on the building’s height and the local wind zone.
#3. Inverter and Electrical Room Planning
The project management team of the vendor handles inverter placement. The decision has a direct impact on both cost and long-term performance. The further the inverter is kept from the society’s main electrical panel, the longer the cable runs, and the more power is lost as heat in transmission.
A well-chosen inverter location lowers both upfront cabling cost and lifetime generation losses.
Here is how the inverter location is decided:
- The society layout is studied end-to-end to map all cable routing options.
- The closest proximity to the main electrical panel is chosen for lower transmission losses.
- Ventilation and security are important, as inverters generate heat and require a protected, accessible space.
- Common areas chosen for the inverter include a ground-floor electrical room or a dedicated terrace room.
#4. Analysis of Electrical Infrastructure Inside the Building
This check, if overlooked until installation day, can cause unprecedented delays. Older buildings with aging wiring or undersized distribution boards may require an electrical upgrade before solar can be installed safely.
Here is what the electrical infrastructure check covers:
- The main electrical panel and distribution boards are inspected for condition and capacity.
- Dedicated AC and DC cabling routes are planned from the rooftop to the main panel.
- Protection equipment must be in place, including MCBs, isolators, and surge protection devices.
- Cable routing is planned to meet fire safety norms and conduit standards.
- An electrical audit may also be recommended for older buildings before solar is integrated.
Legal and Approval Requirements for Apartment Rooftop Solar
The purpose of the legal and approval work is to give your society the formal authority to use the terrace, install the system, and connect it to the grid. Most stalled society projects have issues such as missing documents and pending approvals.
The legal work is owned by the managing committee, with the vendor handling the DISCOM-side filings.
Here are the legal and regulatory requirements your society needs to plan for:
- RWA or apartment association approval: The AGM resolution is the main document for the entire project. It must cover the project scope, system size, budget, and source of funds, solar financing model. and even the vendor selection criteria. A signed copy of the resolution is needed at multiple later stages. Therefore, the AGM has to be planned carefully rather than rushed.
- Builder or developer NOC: In newly handed-over societies and pre-conveyance buildings, the builder still controls the terrace until the common area is formally transferred. In such cases, a written NOC from the builder serves in place of a society resolution.
- Common-area usage rights: A single flat owner cannot install panels on the shared terrace unless every other flat owner approves, as the terrace is common property of all members. Society-owned shared solar systems are the standard route for most apartments to go solar easily.
- DISCOM approval: This is the one universally required external permit, without which a grid-tied PV system cannot be lawfully operated. The DISCOM’s feasibility approval checks whether the local transformer can handle solar export. The DISCOM officials conduct the inspection, after which a bidirectional meter is installed, and the commissioning certificate is issued to the society.
- Fire, safety, and building compliance: A grid-tied solar system has to meet specific safety standards covering cable routing, conduit specifications, emergency access on the terrace, walkway clearance around arrays, system earthing, lightning protection at the highest point of the building, and inverter isolation. These are usually checked during the DISCOM inspection before commissioning.
Which is the Best Apartment Solar Model for Your Housing Society?
The metering model your society chooses decides who actually gets the savings from solar and on which bill. Pick the wrong one, and residents may wonder why their personal bills haven’t changed even though the rooftop is generating power.
Here are four options. The right one depends on your society’s meter structure, available rooftop area, and your state’s net metering rules.
- Society rooftop solar for common loads: Solar energy for apartments is generated by a single plant on the rooftop, which feeds power directly into the society’s common-area meter. The generated power offsets the bill for lifts, pumps, lobby lighting, and other shared utilities. The savings appear as lower monthly maintenance charges for each resident.
- Group net metering (GNM): This shared solar system model is useful when your society has multiple electricity connections. For example, one meter per wing, or for separate amenities such as the clubhouse and security cabin. Surplus generated on one connection is credited to the other connections owned by the society. Thus, a single solar plant can offset multiple society bills.
- Virtual net metering (VNM): One shared plant, mostly on the DISCOM premises, generates solar energy for apartments that have agreed to the model. The credits are split across individual flat meters in a ratio agreed by the society and recorded with the DISCOM. Every flat saves directly on its own electricity bill. This model works well when the society wants residents to benefit personally rather than only through lower maintenance charges.
- Individual rooftop allocation: A portion of the terrace is allocated to specific flat owners who fund and own their own systems, connected to their individual meters. This is the least common of all apartment solar solutions because obtaining permission from the entire society to use the terrace for personal use is rare.
Step-by-Step Process for Solar Installation for Apartments
Here’s a snapshot of the end-to-end steps that usually go into solar installation for apartments in India:
- Step 1 – Get your AGM approval for rooftop solar installation: The resolution must cover scope, budget, financing model, vendor criteria, and signing authority.
- Step 2 – Shortlist two or three vendors: Check registered vendors on the PM Surya Ghar Muft Bijli Yojana National portal for how many installations the vendor has completed in your area.
- Step 3 – Share your Common Area Maintenance (CAM) bills with the chosen vendor: This lets the vendor predict your society’s consumption pattern and propose a system size that matches the actual load profile rather than the roof area.
- Step 4 – The vendors conduct a detailed engineering visit: Rooftop marking and on-site video recording are performed to develop the 3D design of the system. This visit is where shading, structural feasibility, and inverter placement get assessed in person.
- Step 5 – The design team prepares the system design: Shadows from on-roof structures and adjacent buildings are factored in, the solar array layout is fixed, and cable routing is finalized.
- Step 6 – Each vendor presents the proposal: Structure type, inverter and panel brands, wiring approach, PM Surya Ghar Muft Bijli Yojana subsidy process, and a detailed quotation are all covered.
- Step 7 – Society representatives visit a reference installation: A site visit to one of the vendor’s older installations, ideally 18 to 24 months old, is the best way to see how a system actually performs and is maintained over time.
- Step 8 – Select your vendor accordingly: Picking the vendor with the lowest quote isn’t the smartest strategy. Instead, prepare an RFQ (Request for Quotation) and score each vendor on a few clear parameters – brand’s experience and how many installations they have done in your area, the solar technology they are offering, the financing options they bring, whether or not they offer a savings guarantee, the warranty/guarantee they offer for solar components, and the price they’re offering.
- Step 9 – Installation happens within ~45-60 days: The mounting structure is installed, panels are placed, and the meter connection is made, but the system is not yet live on the grid.
- Step 10 – Liaisoning team contacts the DISCOM: The team collects the documents required for the subsidy application from your society. This phase usually takes about 2 months.
- Step 11 – Subsidy disbursal: Disbursal of the PM Surya Ghar subsidy takes 2-6 months after the system goes live, depending on state processing.
Documentation Required for Apartment Rooftop Solar Installation
Here are the common documents that are required for apartment rooftop solar installation:
- Common-area electricity bill for at least the last 6 months.
- Occupancy certificate confirming the society is registered and fit for occupancy.
- Terrace roof rights documentation.
- PAN card of the housing society.
- AGM resolution copy and society registration certificate.
- Builder NOC where the society is not yet formed.
Technical Checklist Before Signing a Solar Vendor Contract
Use this checklist during the proposal review. A vendor who cannot answer any of these is a vendor to drop.
- Panel wattage and warranty: Confirm both the product warranty and the 25-year performance warranty.
- Inverter warranty: Standard cover plus extended cover, since the inverter is the most important solar component.
- ALMM and DCR compliance: Panels must be on the approved lists, since non-compliant modules do not qualify for the PM Surya Ghar subsidy.
- Mounting structure material: Verify the galvanization grade and base plate thickness. For instance, SolarSquare’s Windopro mount has an 80-micron HDGI (hot-dipped galvanized iron) coating. Even with a 3-micron yearly erosion rate, the structural integrity stays intact for 25+ years.
- Wind-load design: Confirmed for the building’s specific height and local wind zone.
- Waterproofing responsibility: Confirm who seals penetrations and whether HILTI airtight sealing is used to fill drilling gaps to prevent water seepage.
- Earthing and lightning protection: A lightning arrester should be placed at the highest point of the building, with proper system earthing.
- Generation estimate: Annual kWh, the performance ratio guarantee, and the shortfall remedy should be written into the contract.
- AMC terms: Cleaning frequency, fault response time, and the remedy if generation drops below the guarantee should be specified.
- Monitoring dashboard: Real-time generation visibility with alerts and historical reporting should be provided.
- Net metering support: Vendor files and follows up on the DISCOM application end-to-end.
- Subsidy support: The vendor must handle the PM Surya Ghar application, documentation, and disbursal follow-up.
- Post-installation documentation: Test certificates, warranty cards, and the commissioning certificate should be handed over after installation.
Legal Checklist for RWAs and Apartment Associations
The legal side has its own checklist. The committee owns most of it, and the vendor only supports.
- Society registration documents: The registration certificate should be ready before the DISCOM application is filed.
- Committee resolution: A resolution approving the project, the budget, and the signing authority should be formally recorded.
- Member consent or AGM approval: A written record of the meeting at which the project was approved should be prepared and shared with all residents, and the meeting must have had sufficient members present for the decision to be valid.
- Terrace usage authorization: The resolution should specifically authorize the use of the common terrace for the solar installation.
- Common meter details: Sanctioned load, account number, and the last 6 months of bills should be provided to the vendor.
- Vendor agreement: A signed contract should cover the scope of work, payment terms, warranties, and liability allocation.
- Payment approval: The committee meeting record should clearly state which members are authorised to sign cheques or approve bank transfers for the solar project.
- DISCOM application authorization: A signed authorization should allow the vendor to file the net metering application on the society’s behalf.
- Subsidy application documents: The society PAN, a cancelled cheque, and bank details matching the registered society name should be ready.
- Maintenance responsibility: The contract should specify who is responsible for cleaning, AMC, and post-warranty service, and at what cost.
- Insurance clause: The contract should state whether the system is insured, who pays the premium, and what is covered.
- Asset ownership clause: Under a RESCO financing arrangement, the transfer terms and asset condition at handover should be written into the contract.
What are the Benefits of Installing Solar Panels in Apartments in India?
Installing solar panels in apartments helps housing societies cut recurring electricity costs, use their shared rooftop more productively, and give residents a long-term energy solution. Since common-area electricity covers lifts, pumps, corridor lights, clubhouse equipment, and other shared facilities, even one well-sized rooftop solar system can create a good amount of savings for the entire society.
- Lower common-area electricity bills: Solar can offset power used by lifts, pumps, lobby lights, basement ventilation, and other shared loads.
- Reduced maintenance charges: When the society’s common electricity bill drops, residents can benefit through lower monthly maintenance costs.
- Direct savings for flats through VNM: In states that allow virtual net metering, solar credits can be split across individual flat meters.
- Better use of shared rooftop space: The common terrace can become a productive asset instead of staying unused.
- Protection from rising tariffs: Solar helps societies depend less on grid electricity, which reduces the impact of future power price hikes.
- Cleaner energy for the community: Apartment solar systems reduce dependence on conventional electricity and support greener living.
- Long-term financial value: A properly designed PV system can generate savings for 25 years or more with regular maintenance.
- Savings can fund society upgrades: The money saved on electricity can be used for improvements such as CCTV, gym equipment, play areas, or building repairs.
Conclusion
The technical and legal sides of solar for apartment buildings move on parallel tracks. A project gets commissioned on time only when both are complete.
- The technical work covers shadow-free area, structural safety, inverter placement, and electrical checks inside the building.
- The legal work covers AGM approval, builder NOC for terraces that have not yet been transferred, DISCOM clearance, and a metering model that complies with the state’s current rules.
If you’re planning to install rooftop solar in your society and looking for a reliable partner, you can book a free solar consultation call with SolarSquare today.
FAQs
Is solar worth it for apartment buildings in India?
Yes, rooftop solar for apartment buildings is a highly beneficial investment. Electricity is around 40% of a society’s recurring expenses. A rooftop system can easily offset common-area consumption, and the savings can either reduce monthly maintenance costs or fund upgrades such as CCTV, a gym, or a play area. Returns are usually 3 to 10 times higher than investing the same money in a fixed deposit.
Can an individual flat owner install solar on the shared terrace?
This is not possible without the consent of every flat owner in the society. The terrace is common property held in common by all members. The most common route to go solar for a society is a society-owned shared solar system that either generates power for common areas or a common solar system in the DISCOM premises that allocates credits to flats through virtual net metering, where the state permits it.
Can apartment solar reduce individual electricity bills?
Yes, this is possible through virtual net metering (VNM). Under a VNM arrangement, one shared solar system generates credits that are allocated across individual flat meters in a ratio agreed by the society and recorded with the DISCOM. As a result, each flat sees a direct saving on its own bill. Where only net metering is available, the savings show up in lower society maintenance charges instead.
Do I need society or RWA approval to install solar on the terrace?
Yes, this is mandatory. An AGM or committee resolution is required before any DISCOM application can be filed. The resolution must approve the scope, budget, financing model, vendor selection criteria, and signing authority. In societies that are not yet formed or are pre-conveyance, a written NOC from the builder takes the place of the resolution.